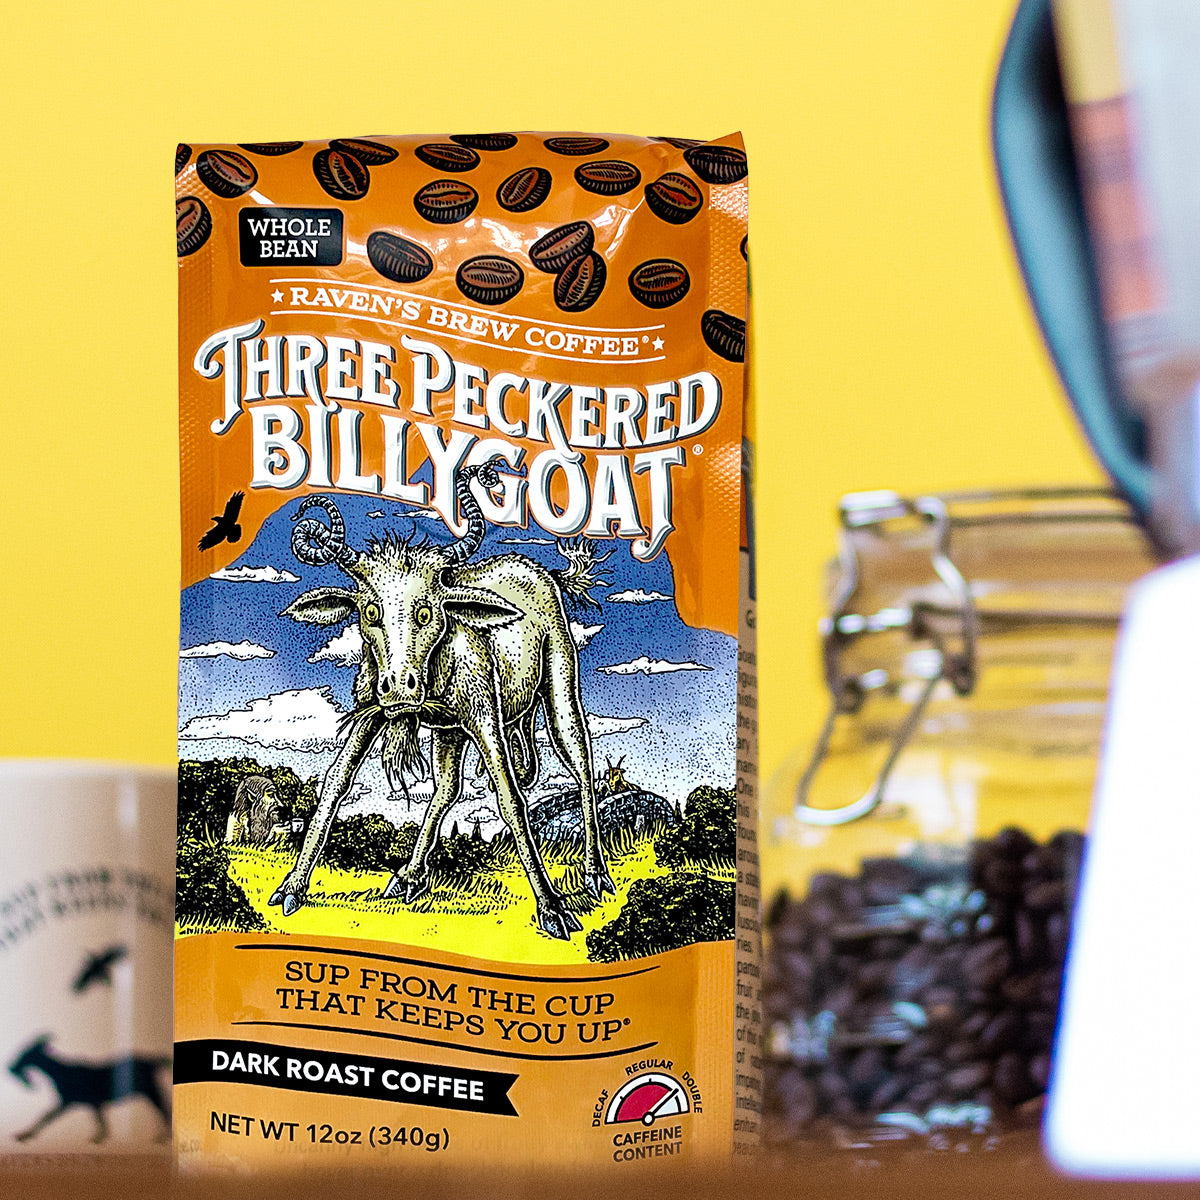
At Raven’s Brew Coffee®, Inc. we strive to present a variety of coffee offerings so that any individual can find the perfect blend to synchronize with their taste preferences. As a roaster, it is important for us to think about how we define taste and to find the language of each flavor profile that will resonate with the customer’s choice of blends.
Coffee cupping, the industry standard method of evaluating flavor and quality, can be intimidating for the average coffee drinker. There are standards and procedures to follow, and a dictionary’s worth of aroma and flavor-describing words to pick from. But we believe that it can also be a fun activity for the coffee enthusiast! If you strip back some of the jargon and follow a simple process, we think you will be surprised how effectively you can cup coffee, and how much fun you will have doing it!
This article will cover the process of cupping coffee then dive into flavors and aromas next. The best thing you can do to start out right is be prepared! Cupping is all about the timing so get everything ready beforehand.
Gather the following items:
- Coffee beans!
- An electric scale
- A grinder
- Water (preferably filtered) and means to boil it
- A kettle for pouring
- Cups for samples, and rinse cups
- Spoons: wide and relatively shallow—more like soup spoons than teaspoons
- Timer(s)
- Towels and spittoons
- Plenty of surface area
- Flavor profile guides/scorecards
Get set up:
You can set up the beans for your coffee samples so that they are ready to go. The Specialty Coffee Association standard ratio for cupping is 8.25g of coffee to 150ml (5.07 fl oz) of water. Have the beans measured out and ready in the cups and water ready: either maintained at around 200°F or ready to boil to that temperature. Make sure you have clean spoons and cups of water to rinse them ready to go as well. It is also a good idea to have a small quantity of extra beans of the same coffee you are going to sample ready, so that you can “flush” them through the grinder to make sure there are no older grounds in there.
It’s time to cup!
The first thing you are going to evaluate is the Fragrance of the coffee. Grind your sample beans into the cup (you want to grind slightly coarser than drip) and vigorously sniff the gases released. This dry sniff will be your first point of evaluation, so make sure you are ready to take notes. There are two smelling steps to evaluate—the Fragrance is from the dry ground coffee; the Aroma comes up next.
Let’s brew some coffee:
Pour your hot water gently onto the sample grounds. No need to swirl like a pour over—you want the grounds all wet but not stirred up by the water too much. Set the timer for 4 minutes. You can take a deep inhalation to get your first experience of the Aroma, known as the “wet sniff”, while waiting for the coffee to infuse the water. The coffee grounds will form a crust on the surface of the water as the time passes. When you have finished your wet sniff and the timer dings, you are ready to break the crust. Place your spoon parallel to the crust surface, nearly touching, and near the back of the cup rim. Place your nose nearly on top of or near the front of the spoon. Gently push your spoon through the crust of coffee but leave your nose in place. Push down to the bottom along the wall then twirl your spoon along the bottom toward the cup wall nearest you and bring it back up and out. Near the end breathe in through your mouth at the same time as your nose to get a full impression of the Aroma, making notes.
Now it’s time to taste!
Following the breaking of the crust most grounds will remain on the bottom of the cup, but you will have some floating on top with oils. You can use your spoon to skim away the coffee grounds – not going any further below the surface than needed. Keep the cup as still as possible. Clean the spoon in your hot water rinse cup, then take a spoonful of coffee and slurp it from the spoon into your mouth and across your tongue. Yes, slurp (not sip)! Slurping spreads the coffee over the full surface of your tongue so that you experience all the flavors simultaneously. Don’t be shy, the noisier the better! You will want to repeat this several times because you are going to be analyzing a lot of things: Flavor, Acidity, Mouthfeel and Aftertaste. We will run through how to discover and describe these different aspects of coffee in the next part. Slurping will also allow you to experience how the coffee changes as it cools down.
Involving the Nose:
One final thing you might like to try is the coffee sample’s Nose. Since taste and smell are so interconnected, you can attempt to sniff air into the back of your throat through your nose just after you’ve brought/slurped the coffee over the back of your tongue. This can really enhance the flavor experience. Just be careful not to breathe too early and choke! If you intend to cup a lot of different coffee samples, it is usually advised to spit out the coffee as over-caffeination can negatively impact your perception of taste. And if you are going to cup with other people, try to avoid discussion until everyone has finished taking their notes so that you do not influence each other.
No matter how developed your palate, cupping coffee can be a rewarding and pleasant way to experience new coffees, or old favorites. We encourage you to give it a try! Keep watch for our next installment, where we will explain the different descriptors we use to discuss coffee. And if you’re looking for some coffees to explore, the Raven’s Brew Coffee Pantheon of Liquid Bliss is a great place to start!


